Loft Grow Room Build Start To End

Doobz

Active member
Thought I would post a bit of a Build thread I did a few months back.

Hopefully this will give someone some inspiration and an idea howto do their loft,

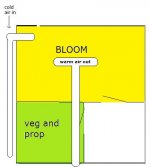
A pic of what I was aiming fo also

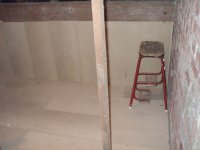
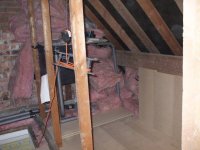
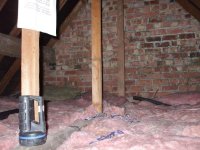
Day 1

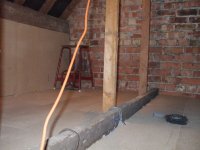
Went up and measured up and made a written note of where all the wires and pipes were and checked for the all important stability of the beams,
 

Attachments
  • DAY1.jpg
    DAY1.jpg
    75.6 KB · Views: 43
  • Loft.jpg
    Loft.jpg
    17.7 KB · Views: 42
Last edited:
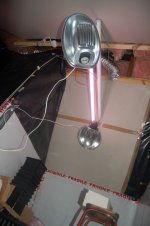
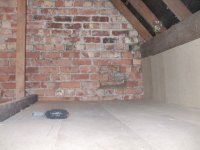
Day 2

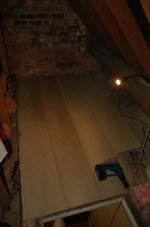
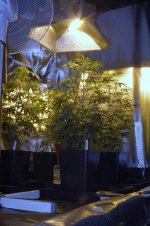
Went up with easy Lok flooring from hardware store, really easy to fit and just screws into the beams..
 

Attachments

  • DAY2_1.jpg
    DAY2_1.jpg
    23.5 KB · Views: 40
  • DAY2_2.jpg
    DAY2_2.jpg
    32.7 KB · Views: 31
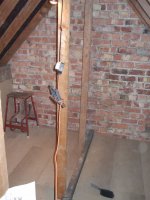
Day 3

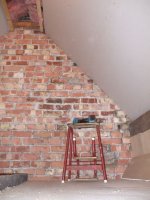
Had to finish off the other side of the floor..
 

Attachments

  • DAY3_1.jpg
    DAY3_1.jpg
    110.3 KB · Views: 31
  • DAY3_2.jpg
    DAY3_2.jpg
    96.4 KB · Views: 24
  • DAY3_3.jpg
    DAY3_3.jpg
    111.4 KB · Views: 21
  • DAY3_4.jpg
    DAY3_4.jpg
    75.2 KB · Views: 20
  • DAY3_5.jpg
    DAY3_5.jpg
    41.5 KB · Views: 26
Day 4

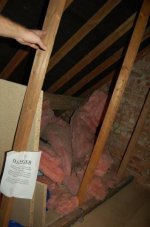
moved all the insulation ready for the next day when the plasterboard arrived - note the water geyser up there covered in black.. phew to have that up there.. :)
 

Attachments

  • DAY4.jpg
    DAY4.jpg
    114.4 KB · Views: 41
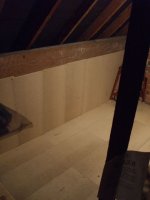
Day 5

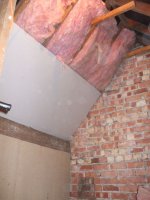
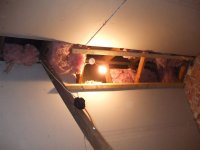
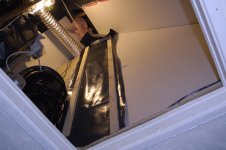
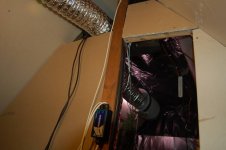
Plasterboard day, Had to insulate all the roof before nailing in the plasterboard
As you can see I left a gap at the top for all the ducting and wires to go and so there is no heat buildup
 

Attachments

  • DAY5.jpg
    DAY5.jpg
    65.4 KB · Views: 27
  • DAY5_1.jpg
    DAY5_1.jpg
    70.5 KB · Views: 22
  • DAY5_2.jpg
    DAY5_2.jpg
    70 KB · Views: 28
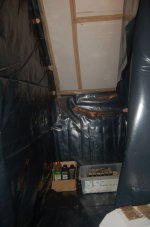
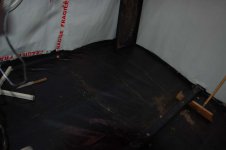
Day 6

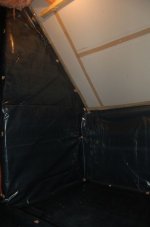
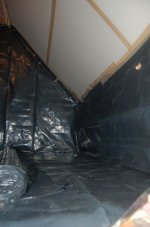
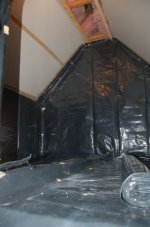
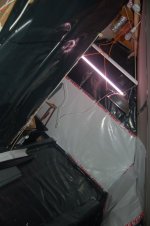
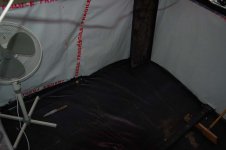
I know black is a nono for growrooms but I needed to make sure I can controll the enviroment so up it went to keep all the dust etc away and when I am using water its okay to spill a bit
 

Attachments

  • DAY6.jpg
    DAY6.jpg
    28.8 KB · Views: 24
  • DAY6_1.jpg
    DAY6_1.jpg
    42 KB · Views: 21
  • DAY6_2.jpg
    DAY6_2.jpg
    48.2 KB · Views: 29
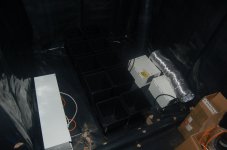
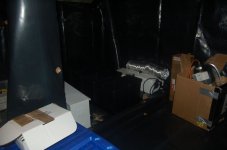
day 7

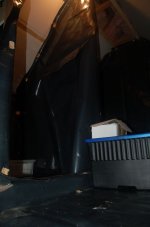
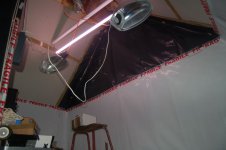
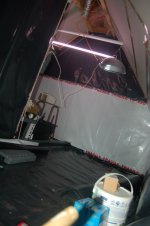
Just created the veg section as you can see in pic number 2. The 3rd pic is one side of the flower section with a tray with some pots just to make sure I got the right size tray.. It can fit another 2 more on that side of the flower room and another 3 trays the other side so 6 trays in total.
 

Attachments

  • DAY7.jpg
    DAY7.jpg
    31.3 KB · Views: 23
  • DAY7_1.jpg
    DAY7_1.jpg
    40.3 KB · Views: 26
  • DAY7_2.jpg
    DAY7_2.jpg
    73.5 KB · Views: 27
  • DAY7_4.jpg
    DAY7_4.jpg
    64.9 KB · Views: 22
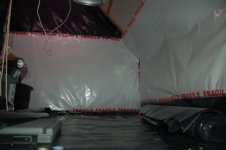
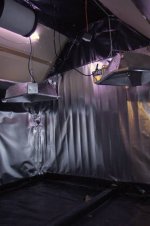
day 8

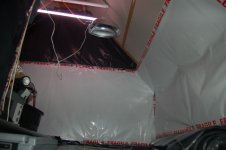
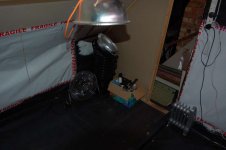
White on black plastic went up to make things nice and brite
 

Attachments

  • DAY8.jpg
    DAY8.jpg
    55.1 KB · Views: 22
  • DAY8_1.jpg
    DAY8_1.jpg
    58.8 KB · Views: 25
  • DAY8_2.jpg
    DAY8_2.jpg
    65.3 KB · Views: 20
  • DAY8_3.jpg
    DAY8_3.jpg
    48.6 KB · Views: 12
  • DAY8_4.jpg
    DAY8_4.jpg
    48.3 KB · Views: 17
  • DAY8_5.jpg
    DAY8_5.jpg
    46.4 KB · Views: 27
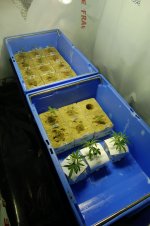
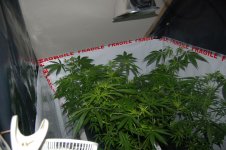
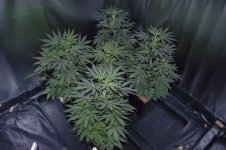
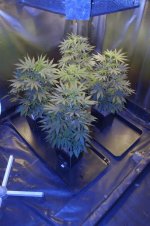
Last one just with some images with plants - Blue tubs one is veg section and bigger plants are spread out in Bloom section (8 thai Stick)
 

Attachments

  • DSC_9232 [1600x1200].JPG
    DSC_9232 [1600x1200].JPG
    188.6 KB · Views: 15
  • DSC_9260 [1600x1200].JPG
    DSC_9260 [1600x1200].JPG
    235.3 KB · Views: 24
excellent post
great build thansk for sharing
i have to build me a flower area
be similar to yours but not in a loft
i think i will go with 1.2 x 2.4m
how much was the materials and wat is the area of ya room?
take care and stay safe
bil
 
hey billo..

It is 3M x 3M and max height is 7FT

For building materials so far I would say about

Floor £58
Plaster Board £40
Screws and Nails £10
Black Plastic £16
White on black £14
Timber £20

Tomorrow I am going to change it a little bit because the partitions are plastic and want them to be a bit more stable so going to use plasterboard instead.

so that will cost £20

So all in all its about £178 just for construction materials..
 
nice work cytrax and a great space and very lucky you didn't have beams all over the place :)..you still using the space? have you upgraded in anyway? how do you vent?

thanks again
 
are you using a vapour barrier on the plaster board side? i.e silver sided plaster board facing the insulation? you might find that damp will come through if no vapour barrier is not used where hot and cold come to gether water will condense and start to come through the plaster that will also ruin the rockwool making it usless as insulation.
 
Hi mr green...you sound like u have experience in this field... any chance u could grace my thread and tell me what else i can do to insulate and prevent detection in the loft. im also venting in to the chimney stack (i can get pics up)... whats your views on adf?
 
nice work cytrax and a great space and very lucky you didn't have beams all over the place :)..you still using the space? have you upgraded in anyway? how do you vent?

thanks again

Hey Kilo... Yea I have upgraded a bit. When I first built the room I had it split so I had a veg section and a bloom section. I finally saved enough cash to buy a grow tent so I now have a place where I can veg and keep my mothers.

I took down all the partitions I had made up there and now its just one big space of 2.5M x 2.5M and in the tallest section its 7FT

Here are the pics once I took the partition down
 

Attachments

  • DSC_3957.JPG
    DSC_3957.JPG
    43 KB · Views: 13
  • DSC_3958.JPG
    DSC_3958.JPG
    48.8 KB · Views: 16
  • DSC_3960.JPG
    DSC_3960.JPG
    35.6 KB · Views: 6
Once I had cleaned and bleached everything it was time to hang some reflective diamond sheeting. I god a good deal from some dude on e-bay who clearly was doing some commercial grows as he said he just used 2 rolls and this was left over so I got 50Meters of the sheeting for next to nothing.
 

Attachments

  • _DSC4025.JPG
    _DSC4025.JPG
    43.5 KB · Views: 19
  • DSC_4009.JPG
    DSC_4009.JPG
    37.5 KB · Views: 15
  • _DSC4022.JPG
    _DSC4022.JPG
    25.9 KB · Views: 24
  • _DSC4019.JPG
    _DSC4019.JPG
    53.9 KB · Views: 14
  • _DSC4012.JPG
    _DSC4012.JPG
    45 KB · Views: 13
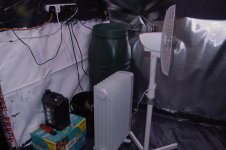
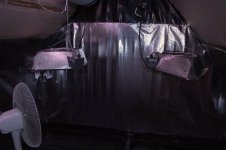
It was then time to test the new room out so chucked in 4 Plants that I had been asked to test by Matt from Crazy-X Seeds.. They were called "The Big Cheese" Chronic x Uk cheese

The room also had new reflectors, a new Carbon filter and I had wired up a thermostat to come on when temps were too hot.
 

Attachments

  • _DSC4030.JPG
    _DSC4030.JPG
    92.3 KB · Views: 36
  • _DSC4032.JPG
    _DSC4032.JPG
    50.6 KB · Views: 13
  • _DSC4061.JPG
    _DSC4061.JPG
    42.5 KB · Views: 23
I also upgraded a bit more when summer came. The temps were not manageable with two 600W HPS bulbs and I didn't have anywhere to draw in cold air from. I bought a cheap £99 aircon that always is running and removes warm air via the outlet ducting at the back of the unit. When the room reaches 26C the compressor on the aircon kicks in and cools the room right down..

I will try grab some pics a bit later
 
are you using a vapour barrier on the plaster board side? i.e silver sided plaster board facing the insulation? you might find that damp will come through if no vapour barrier is not used where hot and cold come to gether water will condense and start to come through the plaster that will also ruin the rockwool making it usless as insulation.

Nope cant say I have used silver sided stuff and 2 winters later I have not noticed ANY softening of the plasterboard in any location or any condensation that you speak of.. If it does happen then I can always just take the plasterboard down and put some new stuffs up.. Its only cheap as chips :D
 
Back
Top